CentOS7中安装nexus私服
如何在CentOS7中安装nexus私服
环境信息
硬件环境:阿里云 1CPU 1G内存 20G硬盘
软件环境:CentOS_7 JDK_1.8.201 nexus-3.49.0-02
安装
下载nexus
在官网下载:nexus
上传nexus安装包
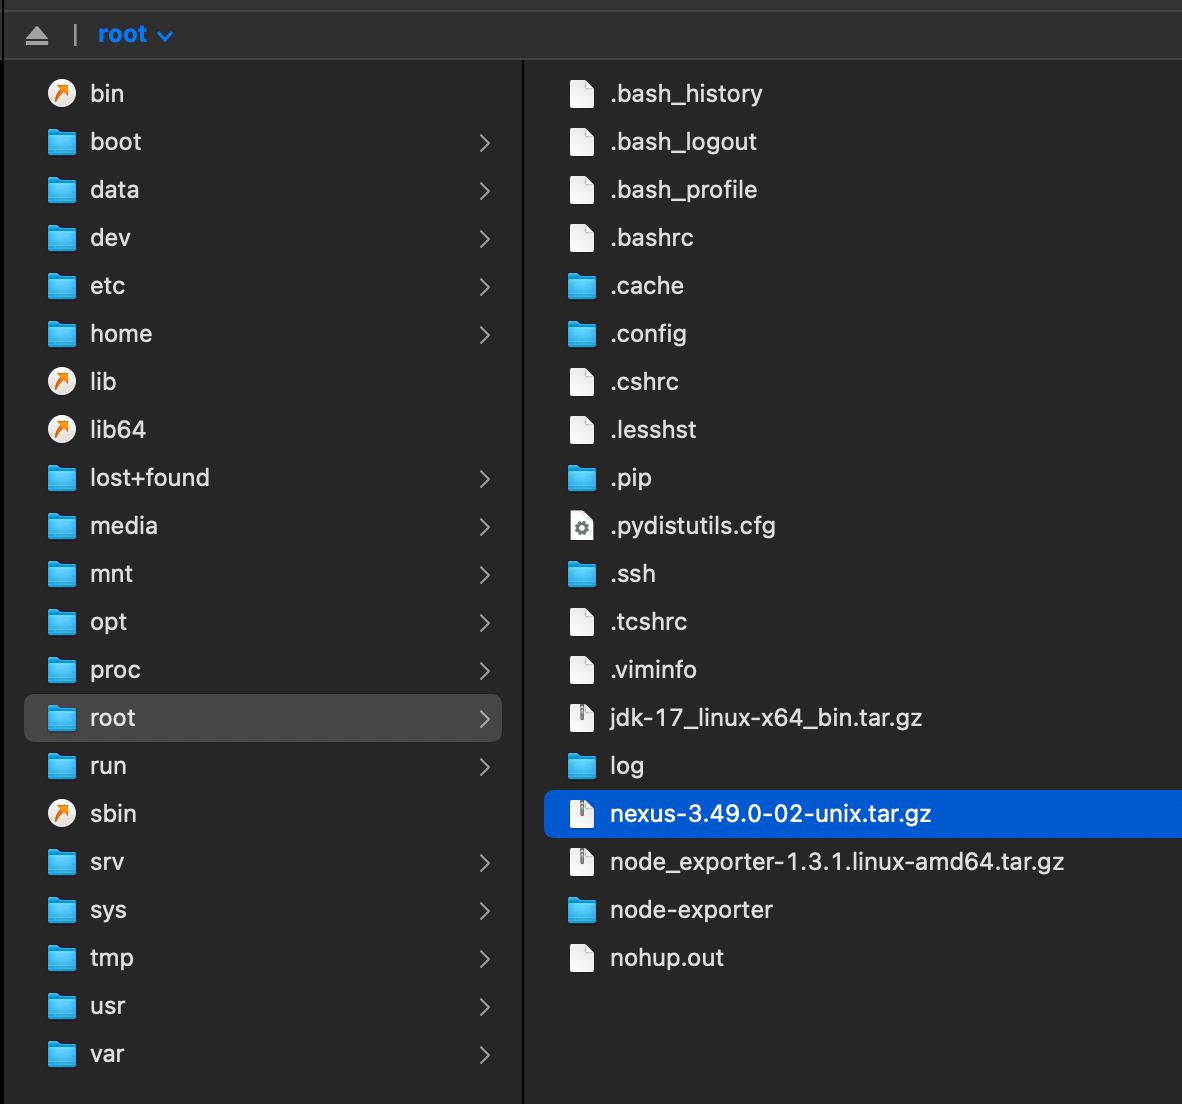
由于使用的是MacOS系统,这里使用 Transmit 这个软件进行文件上传,上传至/root目录

安装nexus
- 登录服务器,进入
/root目录中,# cd ~ - 创建nexus安装目录,
# mkdir /data/app/nexus - 解压安装包,
# tar -zxvf nexus-3.49.0-02-unix.tar.gz -C /data/app/nexus
配置nexus
- 命令行进入nexus启动目录
# cd /data/app/nexus/nexus-3.49.0-02/bin - 启动nexus,
# ./nexus start
- 等待一段时间后,可以通过
ip:8081访问到nexus
- 点击网页右上角
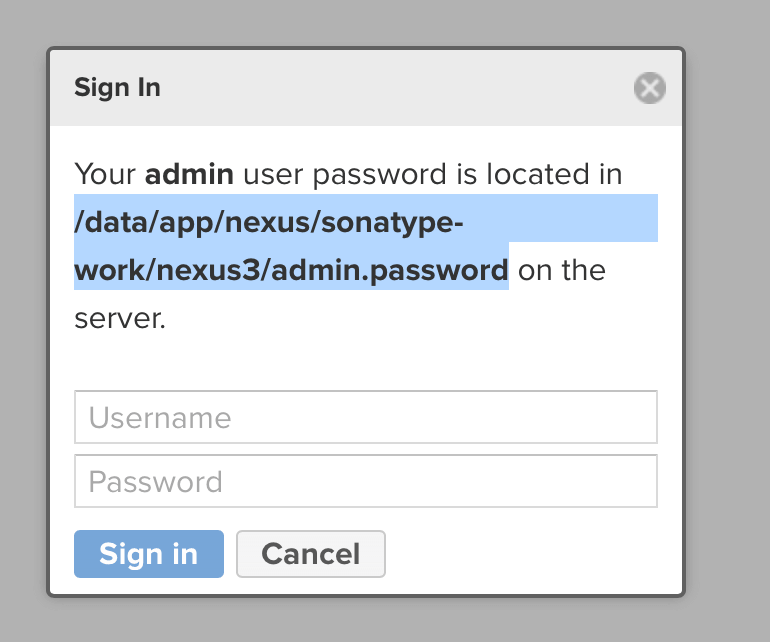
Sign in,首次登录显示密码在/data/app/nexus/sonatype-work/nexus3/admin.password,在服务器上打开该文件


- 用户名为
admin密码为上步获取的密码,首次登录会提示修改密码
配置自动启动
- 修改
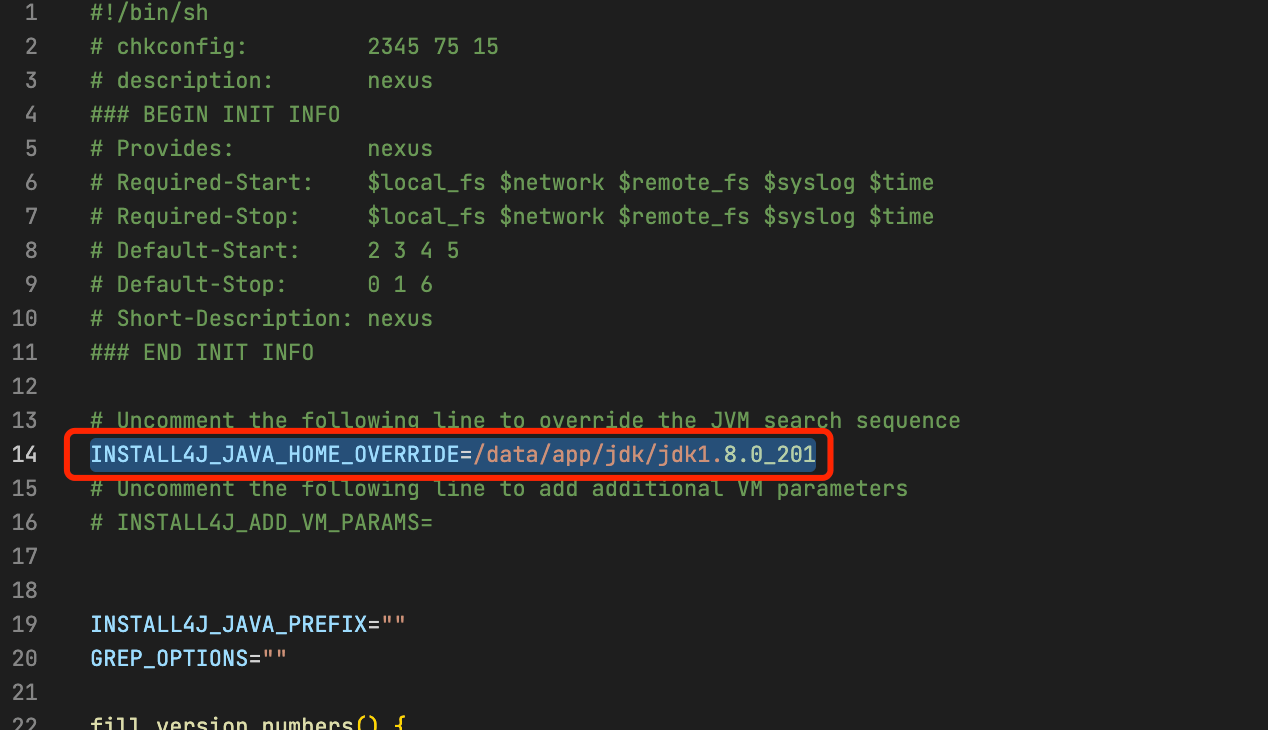
/data/app/nexus/nexus-3.49.0-02/bin/nexus文件,去掉INSTALL4J_JAVA_HOME_OVERRIDE注释(第14行),并改为jdk地址
- 创建文件# vim /etc/systemd/system/nexus.service
1
2
3
4
5
6
7
8
9
10
11
12
13
[Unit]
Description=nexus service
After=network.target
[Service]
Type=forking
LimitNOFILE=65536
ExecStart=/data/app/nexus/nexus-3.49.0-02/bin/nexus start
ExecStop=/data/app/nexus/nexus-3.49.0-02/bin/nexus stop
Restart=on-abort
[Install]
WantedBy=multi-user.target - 启动服务
- 启动systemctl start nexus
- 停止systemctl stop nexus
- 开启自启动systemctl enable nexus
- 关闭自启动systemctl disable nexus
- 查看状态systemctl status nexus
配置域名访问
- 安装Nginx
- 添加配置文件示例
1
2
3
4
5
6
7
8
9
10
11
12
13
14
15
16
17
18
19
20
21
22
23
24
25
26
27
28
29
30
31
32
33
upstream nexus_web {
server 127.0.0.1:8081;
}
server {
listen 80;
#将请求转发给443,并改为https协议
server_name maven.niubi.com;
return 301 https://$host$request_uri;
}
server {
listen 443 ssl http2;
listen [::]:443 ssl http2;
server_name maven.niubi.com;
root /usr/share/nginx/html;
ssl_certificate "/etc/nginx/cert/maven.niubi.com.pem";
ssl_certificate_key "/etc/nginx/cert/maven.niubi.com.key";
ssl_session_cache shared:SSL:1m;
ssl_session_timeout 10m;
ssl_ciphers HIGH:!aNULL:!MD5;
ssl_prefer_server_ciphers on;
location ^~ / {
proxy_pass http://nexus_web/;
proxy_set_header Host $host;
proxy_set_header X-Real-IP $remote_addr;
proxy_set_header X-Forwarded-For $proxy_add_x_forwarded_for;
proxy_set_header X-Forwarded-Proto https;
}
}